Getting Started
The LoremGenie plugin is designed to replace traditional Lorem Ipsum text with rich and meaningful content.
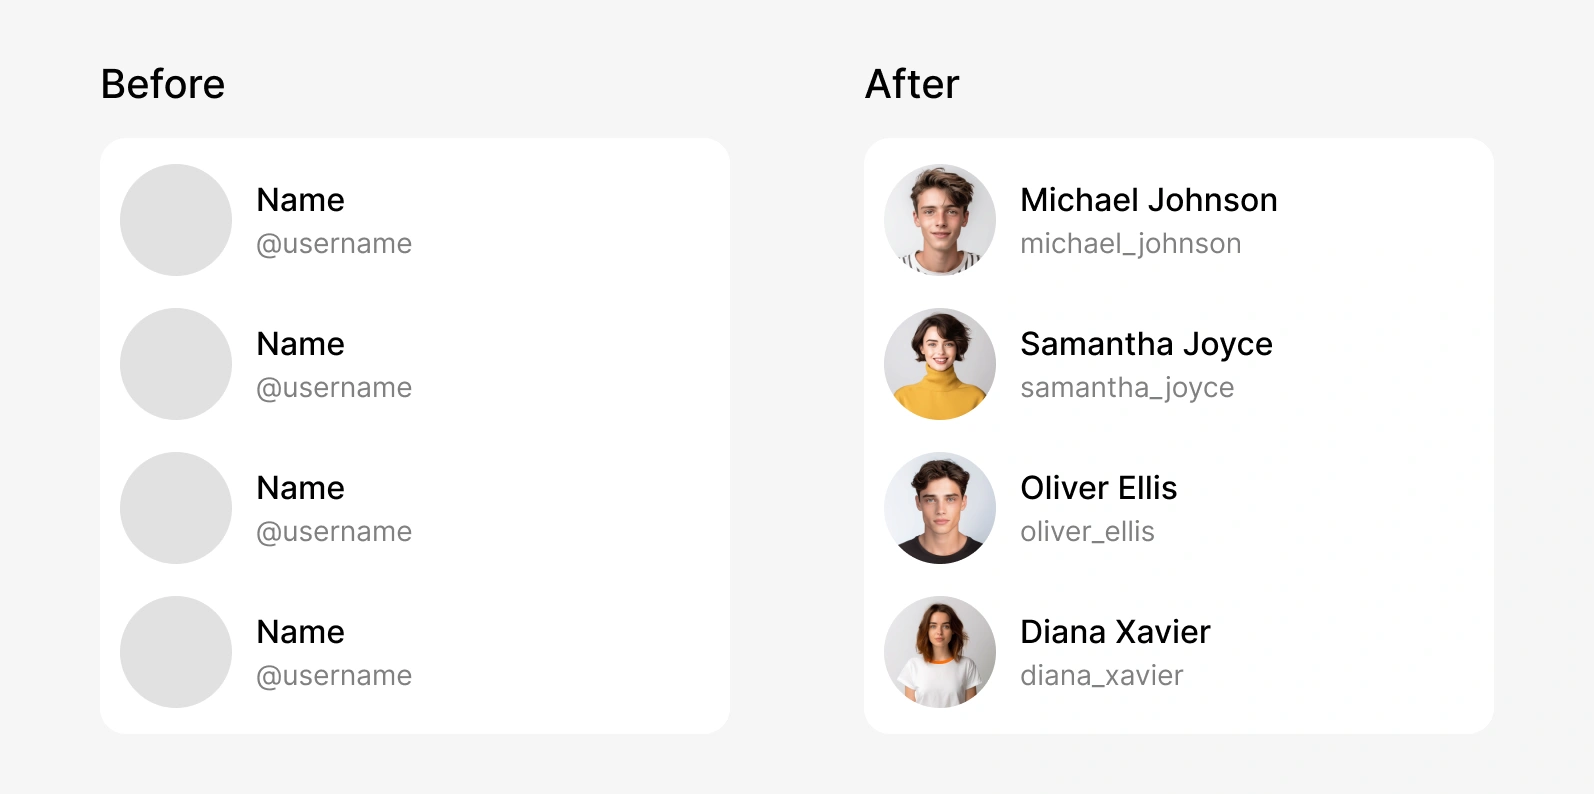
In this guide, we will walk you through how to populate a user list with content. Through a few simple steps, you will be able to quickly populate various layers with rich content.
Setting up the Populate Type
To enable the plugin to correctly identify and populate content, you first need to specify the populate type for the layer. Please follow the steps below:
- Select Layer: Select the layer you wish to populate with content.
- Choose Content: Open the plugin panel and click on the content you want to populate.
Repeat the above steps to set up the corresponding populate types for the Name and username layers.
Text content can only be applied to Text layers, while image content can be populated into Rectangle, Ellipse, Vector, Polygon, and Star layers.
Generating Related Content
While setting populate types individually allows the plugin to generate content for layers, the content of multiple layers will not be related.

To generate content with associations, please follow the steps below:
- Select a Group of Layers: Select a group of layers that need to generate related content.
- Generate Content: In the plugin panel, click the icon in the top left corner. The plugin will automatically generate related content for this group of layers.
Populating Content for Lists
Now, you can choose to convert the entire Frame into a new component, or copy multiple Frames. Whether copying layers or using component instances, they will inherit the previously set populate types. Therefore, you only need to click the icon in the top left corner to generate different content for them.
You can adjust the order of the generated content by clicking on the icon next to the icon.
Next Steps
- You may have noticed that the usernames lack the "@" symbol. You can add this symbol by customizing the content format.
- We offer a variety of avatar styles for you to choose from. Try changing the avatar style to explore more possibilities. Click here to learn more.